
How To Paint A Ceiling Fan Without Taking It Down In 2021

Sometimes it is a problem to bring down the ceiling fans and paint them. Learn How To Paint A Ceiling Fan Without Taking It Down In 2021.
You can usually use AC to keep the house cool. But many times it is seen that the ACs will keep the house cool which will completely remove the heat in the house. And that is not good for us or everyone. However, a ceiling fan will help you to keep the room as cool or warm as you wish.
You can turn it on whenever you feel like the room is feeling warm, and in case you need cooling. And can be turned off when it feels like the room is cool enough. And that is why the need for ceiling fans is huge.
However, if you use the ceiling fans for a long time, the blades may lose color or design. For this, you need to draw there at least once. You can easily learn how to paint a ceiling fan without taking it down
Must using our recommended spray paint.
It’s not just your paint but how did you get the job done and why do you need to? Going to discuss everything, hopefully! You can learn from these and apply these tips and tricks at home.
Let’s be late! Now it’s time for us to learn these tricks and tips,
How To Paint A Ceiling Fan Without Taking It Down
First of all, make sure to turn off the ceiling fan. With the help of a screwdriver, fix the light from the housing of the ceiling fan, and separate the blades with all the arms of the ceiling fan. Then clean the blades, arms, housing, hardware, and other screws of the removed fan using soap or detergent water catch spray cleaner. Then wipe everything well with a dry cloth.
In the second step, place all those parts of the cleaned fan on the surface of a cloth. Stick well around the ceiling fan with painter tape. And place the ends of the screws on a piece of cardboard so that they can easily stand up straight.
In the third step, apply the metal primary section coating on the housing, arm, canopy, blade arm of the ceiling fan with a foam brush. And those who prepare all these things, dry them according to their opinion or according to the direction.
In the fourth step, mix it well with the color on a metal plate. Then gently apply a coat to the ceiling fan housing with a foam brush. Dry the coat well first. Then apply two or three extra thin coats of your choice. Then continue to paint on any grooves or vents using a foam brush.
Some Difficult Stage for How To Paint A Ceiling Fan Without Taking It Down
In the fifth step, it is not possible to paint the threads though. You must then apply the remaining screws to the housing of the ceiling fan housing with a foam brush and let it dry (for the paints to harden).
In the sixth step, neatly paint the ceiling fans while painting all parts of the housing with a foam brush. At that time, you must remember that after applying one coat, after drying it, the other should be applied again. If necessary, complete the work with a little time, so that the paint of the ceiling fan lasts a long time.
In the seventh step, coat the fan sides of the vinyl well with a coat of primer and then let it dry. At the end of this episode, apply another coat of latex paint. Lightly wipe the dried blades with sand on top of it, and repeat each additional way before it dries the next time you apply the second coat. Then you dry for at least 24 hours in daylight.
In the eighth step, if your ceiling fan is a wooden blade, apply it with oil-based paint. In the next step, apply three or two coatings on both sides again. Again, when you apply the coat on it, take at least 24 hours to proceed to the next step.
In the last step, you will probably finish the work by coloring all the blades in the end. Then attach the rest of the fan to the blades and reinstall them. If necessary, you can remove the painter’s tape and reinstall it.
What color should your ceiling fan be painted in?
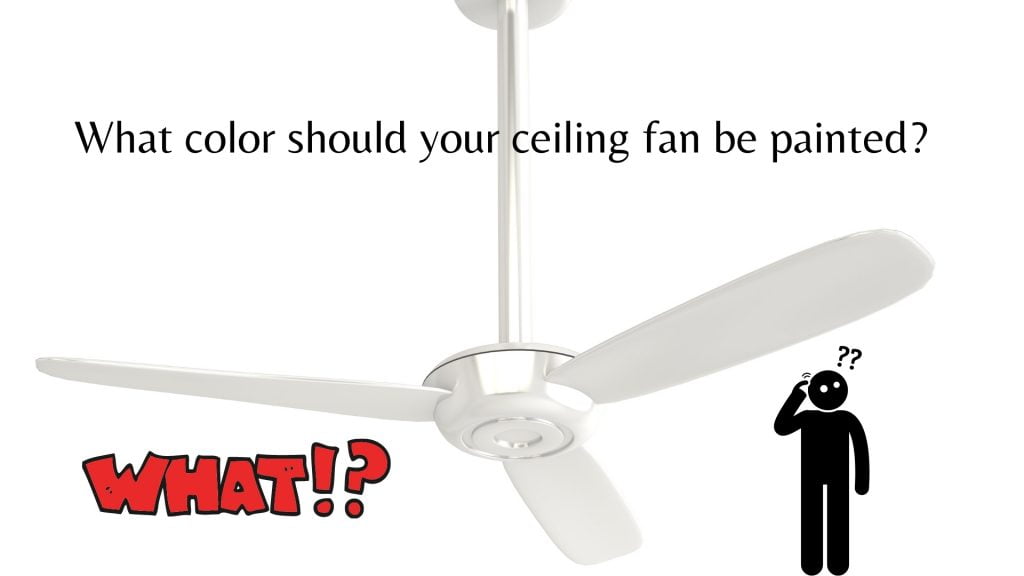
All the ceiling fan blades of the earlier era were made of wood. Although it was on top of all of them with a variety of metallic colors. However, nowadays light-colored ceiling fans have become more and more popular. So in your fan, if neutral colors can be given to it, it can be easily mixed with the house.
White
The ordinary white color though classic all the time, yes! White color indeed fits any type of house well. Moreover, most of the ceilings are white, in this case, if you use the color white. So, these can disappear as opposed to the ceiling, and that’s going to be a very nice thing.
Ivory
The ivory color is also quite good for ceiling fans. It can easily adapt to the white ceiling above the fan. However, the ivory color can provide stunning contrasts for any type of colored ceiling.
Gray
The gray ceiling fan though can adapt itself to a beautiful color, as well as numerous decor styles. Only you can paint these ceiling fan blades in gray and make them look more natural wood.
Black
Black can naturally be an elegant color. So if you use black paint on your ceiling fan blades, it will work great. Moreover, these will undoubtedly make your ceiling fan suitable for different styles.
If the blades of your ceiling fan are made of wood, then metallic colors will be standby for your fan. Plus, you’ll be getting rid of the clutter you don’t need. Also, copper, gold-silver, brunch, and brass colors are great for all-natural wood blades.
The hammered effect can be felt only when it comes to metallic paint. Moreover, the wide spectrum of Rustoleum hammered paints carries something that can add any finish effortlessly and that is why it is the best of all metallic paint colors.
How To Paint A Ceiling Fan Without Taking It Down For Preparation
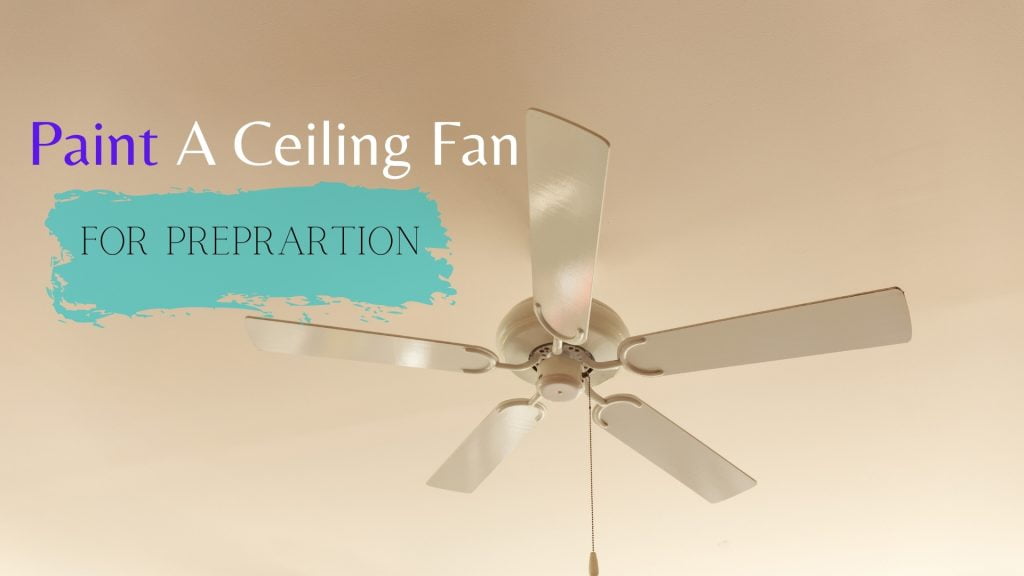
As you prepare for your ceiling fan, we must keep the following in mind:
Canopy cover as the hardware of the ceiling fan, for everything from blade brackets, choose a color that. Which is matched with other tools, including door hinges.
For fan blades, choose a color that matches the color of your door, furniture, and cabinets, or in a word, a color that suits them best.
Choose neutral colors such as gray (universal for ceiling fans), ivory, and taupe colors. Because they can match well with all the furniture including home decor.
Spray Painting TIP When Painting a Ceiling Fan:
It’s time to use paint spray, and you must first use the styrofoam that comes with such an item lift packaging. This will help you to cushion any electronics and other fragile items you have purchased. how to paint a ceiling fan without taking it down?
And about all the tutorials the following steps are discussed again.
However, for that work, the ceiling fan had to be lowered, but lowering the bolts was a very tough type of job. But I did this and found some way to keep it intact. Moreover, there is no need to separate it in these ways, and today I am going to tell you the details about it below.
Note: I mentioned in the post, how to remove the cover, you will try to remove the cover in the same way. This will make the painting work of the ceiling fan easier if it closes easily.
Always use a 1-1 / 2 ″ angled paintbrush to draw the base/motor and Rustoleum Ultra cover. The question is why I told you to use this paint because you know what? This allows you to easily dry it to a nice smooth finish.
Moreover, I have seen from my experience that the lights that I used to draw in my previous home cooking have done a great job.
Before taking action or before starting
If your power breaker fan is connected to electrical wiring, be sure to turn it off. The part along with the motor itself where the air vents are made. There may be a little zigzag to draw according to your design experience. I noticed while doing the subject though.
However, use a crafting stick and use a square paintbrush to draw around the flat side. To do this, be sure not to brush too long. Why not try the size as carefully as you can. That long leaves will go up on the screen. And that can never make you one of the most beautiful.
Draw black skin with a flat short bristle brush. Although it will make you tired, it will be 100% effective.
For this, I was stained by a white paint pen a few and needed two more coats extra.
DIY-spray-paint-booth:
First, spray the primary paint spray on the wood blades by your spray painting. Then draw the metal brackets with gloss spray paint.
Moreover, I completed the glide with white paint on the wood stain and this later prevented it from discoloration. Later three more light codes were needed.
How to paint a ceiling fan without taking it down and easily spray on scrolls and nails and its ways
First, put all the screws one by one in a block of foam.
Use the spray to draw the tops of the screws. Leave a minimum of 5 minutes to apply the next light coat after one so that they can dry and harden.
Thus when the use of paint sprays on all metal brackets is over. When these are completely dry, reconnect them to the fan.
Touch any spot with a white pen to see if they come up (hard ones are not supposed to come). And remember to use this paint pen to draw the tip with force.
All work is now on the last page so you turn on the electric breaker again as before then enjoy it without hesitation.
A few more things I want to let you know, once painted what is your next job? Here are a few things to keep in mind:
Painted after the ceiling fan
Then you may think that new construction has taken place by drawing the old kitchen or the ceiling fans in your house.
Although it took me about two days to do this. Because once I painted, it took me an hour to dry them.
I hope you also keep this in mind so that after using each paint, give a little time for the next use. And taking this time will help you to keep the paint off the ceiling fan in good condition for a long time.
And here’s an article on How to Clean Ceiling Fans | The Ultimate Guide For Beginner


IT WAS REALLY VERY HELPFUL
thank you… stay with us for excited update